If you have not logged into GEDmatch recently, please do so and either accept the new terms and conditions or don’t. Unless you are clearly USA based*, your kits will not be visible to your relatives any more unless you accept. I have linked to numerous other blogs at the end of this article to help you make your choice. I recommend reading either the one from Roberta Estes or EU users, the one from Debbie Kennett. Both look carefully at the new terms and conditions which are not very different from before.
Frankly, I was surprised by the panic expressed last week by some in the genetic genealogy world on FaceBook due to the sale of our beloved GEDmatch DNA tools site to a forensic science company. Personally, I hate knee jerk reactions so I did some research into this company, Verogen, as well as communicated extensively with Curtis Rodgers, one of the GEDmatch founders, and Kim Mohr, a spokesperson for Verogen.
To remind you all, GEDmatch is the best place to compare DNA tests done at different companies to each other or just to see the actual chromosome locations shared by two Ancestry testers. While both Family Tree DNA (ftDNA) and MyHeritage accept uploads of tests from other companies so you can compare on those sites, neither has the extensive tools of GEDmatch. FtDNA compares down to very small segments which can be useful in a family project but leads to inaccurate relationship estimates. MyHeritage does not show the X chromosome and neither company shows the fully identical segments (FIRs) that full siblings will have, which can be so helpful (click here).
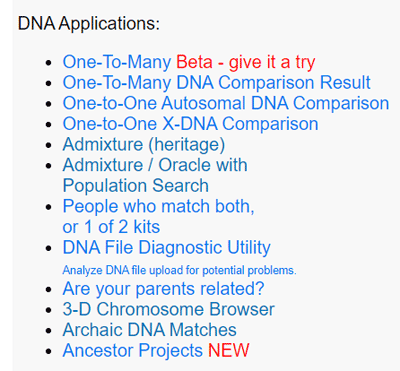
The DNA Applications menu at GEDmatch
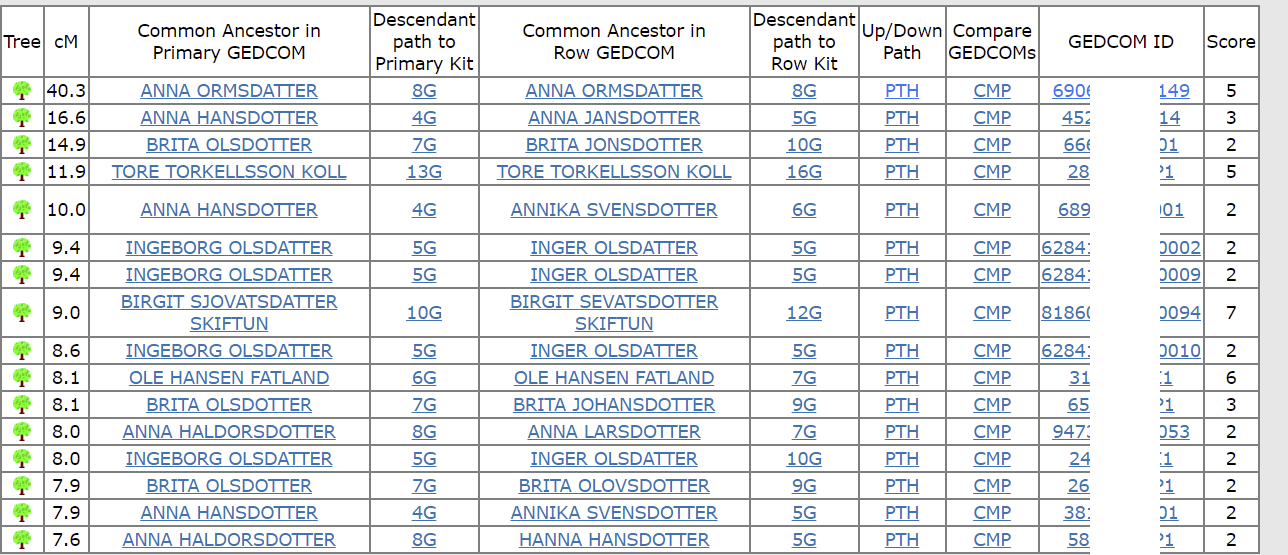
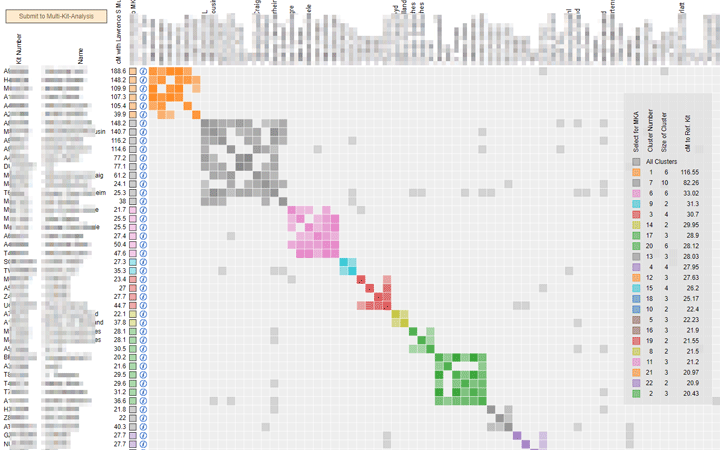
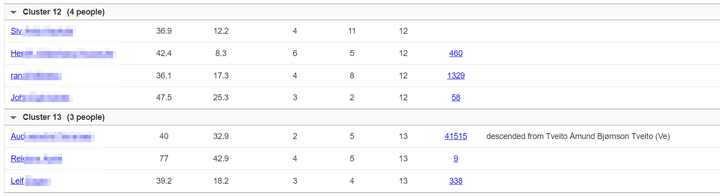
GEDmatch has many useful additional tools, such as “People who match both or 1 of 2 kits ,” an “Are your parents related?” test, the ability to see who matches you on a specific segment, being able to check for full siblings rather than half, and automated triangulation, to name a few of my favorites (click those words to go to that post when I did one or click here for my more general GEDmatch articles). Plus it has GEDCOM comparison utilities. Compare yours to all the ones in the database or to just one other.
GEDmatch became a center of controversy when it was discovered that genetic genealogist Barbara Rae-Venter, working with law enforcement (LE). had solved the Golden State Killer case (click here) using that site. Since that time, there have been more controversies around law enforcement’s use of the site and many overblown scare articles in the press. Personally if my DNA outs a distant cousin who is a murderer or rapist, that’s fine with me. Genetic genealogy techniques are used as a tip; no one is arrested without getting their DNA from discarded materials and seeing if it is a match to the crime scene. I know some people are afraid of the possibility of false arrests, but that just does not happen with these modern techniques. You can, as before, choose to opt out of allowing LE to see your results on GEDmatch when looking for cousin matches to the dna of the perp or the unidentified victim.
In recent months, there have been more problems, news stories and controversies, including a Florida search warrant being granted. One has to feel for the two retired hobbyists who founded GEDmatch to help in their research and ultimately help us all, keeping most of the features free. Clearly getting the site owned and managed by a more professional group would be of great advantage to the users. Curtis spent several months looking for the right partner that would respect the original misson of GEDmatch and yet deal appropriately with LE, the EU, and security issues. He and the programmers, the two Johns, will continue to work on the site as consultants.
So who or what is Verogen? Two years ago this company was spun off from Illumina (the maker of the chips and machines that all the consumer oriented DNA testing companies use to sequence your DNA). It has 50 plus employees and plans to continue growing. Their office is in a small office park near UCSD here in San Diego. Continue reading →